Cell Phone For Real Estate Photography

Cell Phone Real Estate Photography
Real Estate Photography with Your Cell Phone:
Are you planning to sell your home and want to take your real estate photos using just your cell phone?
With the proper techniques and a handy checklist, you can capture impressive images that the REAL ESTATE PHOTOGRAPHER PRO professional editing team can edit for you to make your property shine.
Follow this step-by-step guide to ensure your photos are ready for editing and listing your home.
Step 1:
Contact us at support@realestatephotographerpro.com
Subject line - “Cell Phone Real Estate Photography”.
Please provide your complete contact information with the property's address.
We will provide you with the upload platform link.
Step 2:
Complete your photoshoot.
Step 3:
Upload your photos to the REAL ESTATE PHOTOGRAPHER PRO editing platform.
We will complete your edits and send everything back to you promptly.
Before You Start
Clean and Declutter: Tidy up your home and remove any unnecessary clutter. A clean, clutter-free space looks more appealing in photos.
Choose the Right Time: Natural light is your best friend in real estate photography. Shoot during the day when there is ample sunlight.
Prep Each Room: Ensure that each room is well-lit and all curtains and blinds are open to let in natural light.
Cell Phone Settings:
Use HDR Mode: Enable HDR (High Dynamic Range) mode if your phone has it. This mode combines multiple exposures for balanced lighting.
Grid Lines: Turn on grid lines in your camera settings to help with composition.
Photographing Your Home
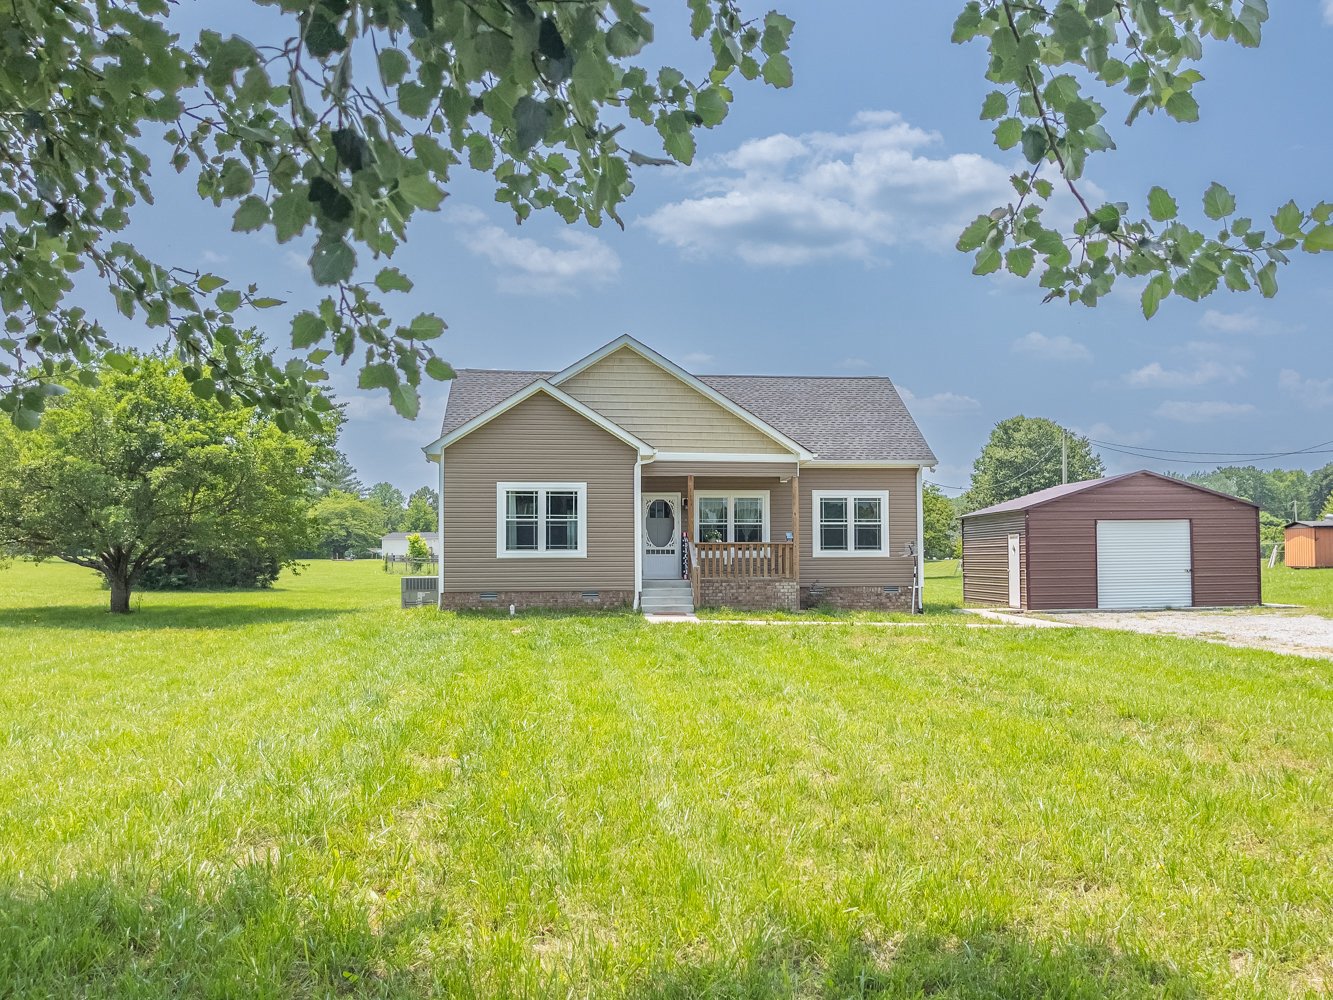
Exterior Shots:
Capture the front of the house from a slight angle to show depth.
Highlight any unique features like a well-maintained garden or porch.
Avoid capturing cars in the driveway or street signs.
Living Areas:
Remove personal items like family photos.
Frame the photo to include as much of the room as possible.
Take multiple shots from different angles.
Kitchen:
Clear countertops of any clutter.
Highlight appliances, countertops, and cabinetry.
Shoot at a slight angle to showcase depth.
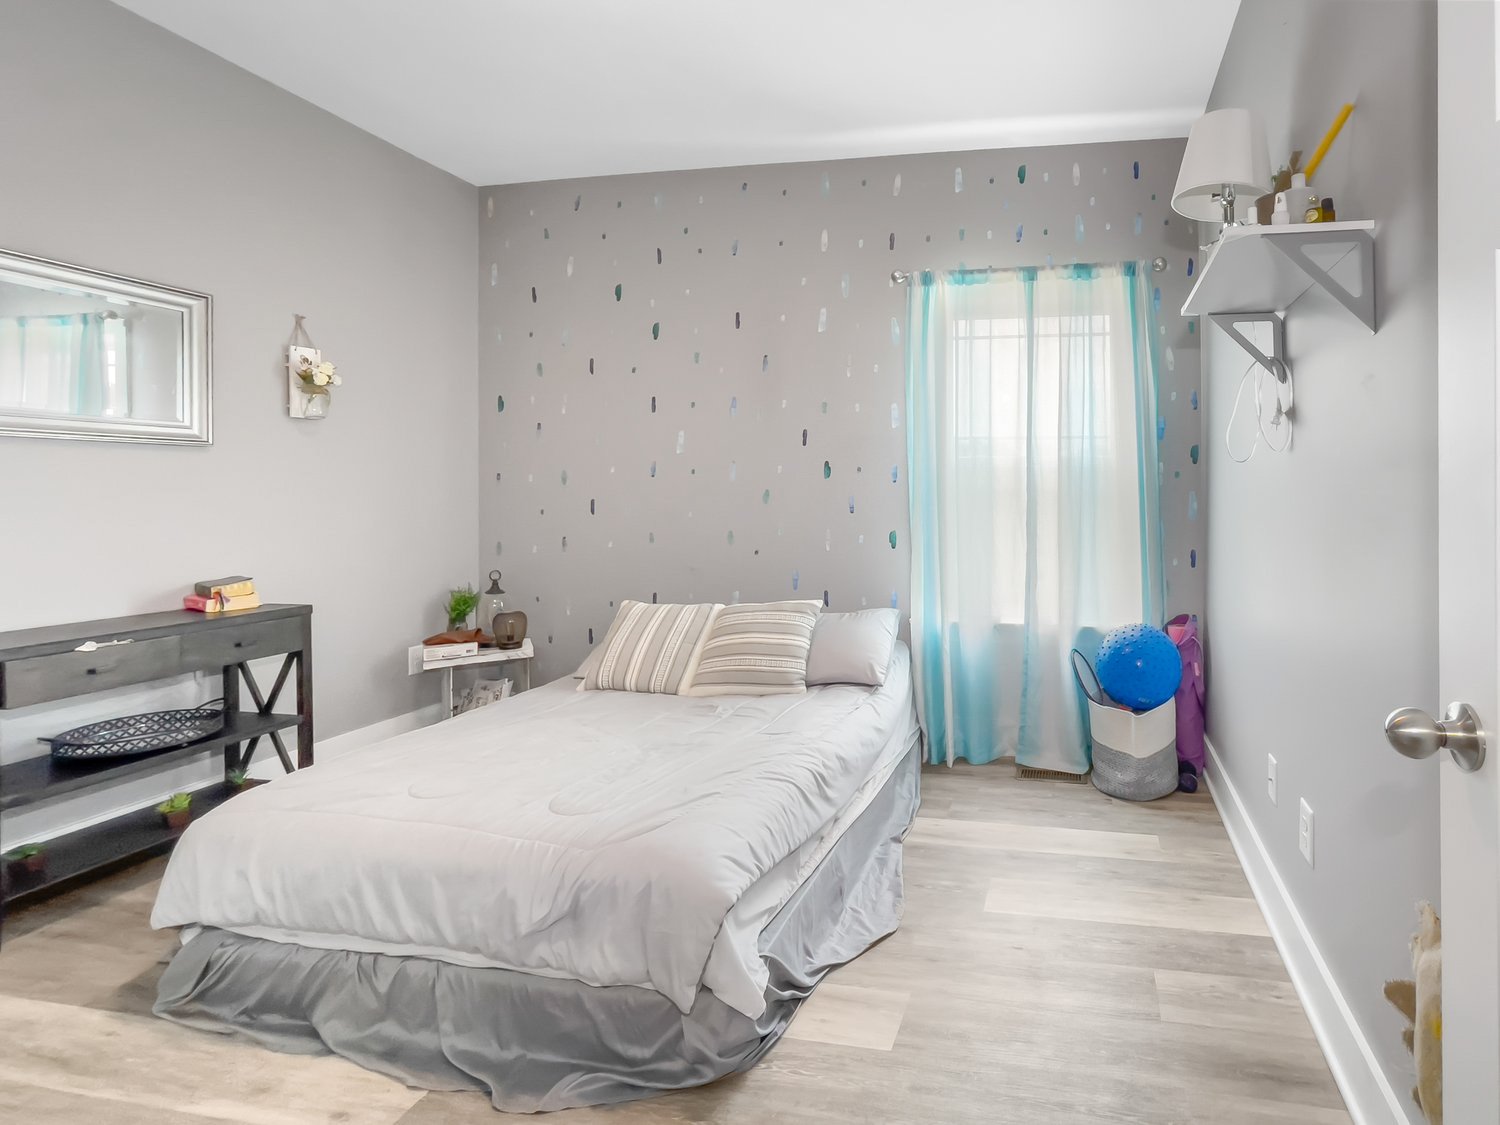
Bedrooms:
Make beds neatly and fluff pillows.
Capture the entire room, including any walk-in closets or ensuite bathrooms.
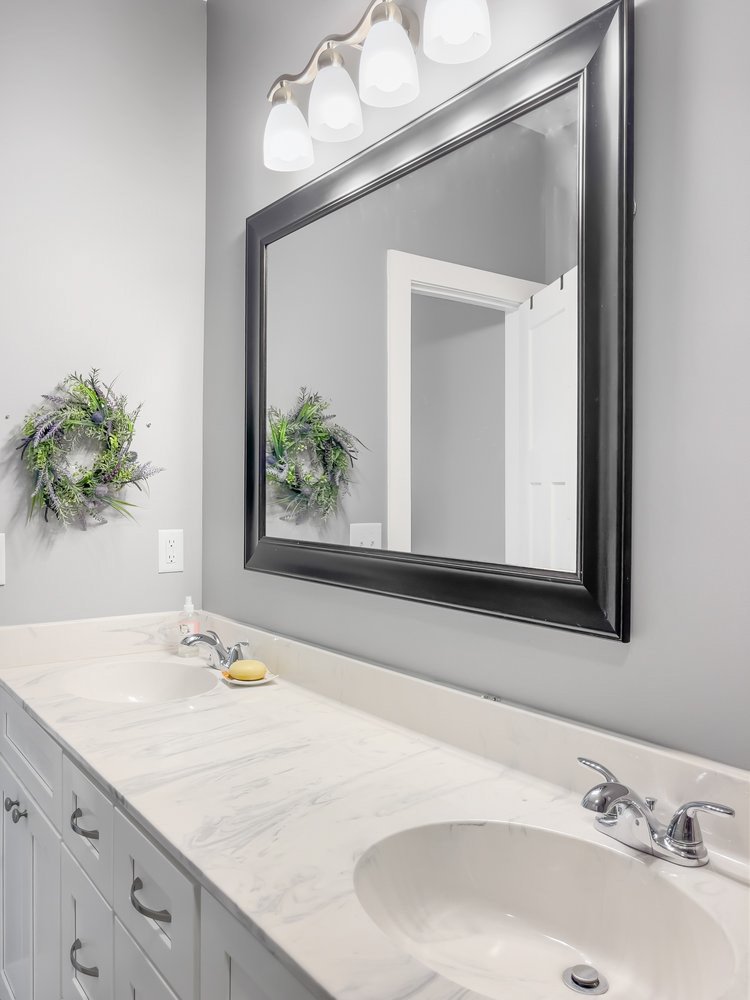
Bathrooms:
Remove personal hygiene products.
Highlight fixtures, countertops, and any unique features.
Use natural light if possible.
Outdoor Spaces:
Photograph the backyard, patio, or balcony.
Include any landscaping or outdoor amenities.
Shoot when the weather is favorable.
Details and Close-Ups:
Focus on unique architectural features.
Capture exciting textures, such as hardwood floors or intricate tiles.
Use the grid lines for straight angles.
Taking the Shots:
Steady Hands: Keep your phone steady, or use a tripod to avoid blurry photos.
Compose Carefully: Use the grid lines to align your shots horizontally and vertically.
Multiple Angles: Take multiple shots of each room and area to have options during editing.
Check Lighting: Ensure no harsh shadows or overexposed areas in your photos.
Experiment: Feel free to experiment with different angles and perspectives to find the most flattering shots.
After Photography:
Organize Photos: Transfer your photos to your computer or cloud storage for easy access.
Select the Best: Review your photos and select the best ones for editing.
Contact REAL ESTATE PHOTOGRAPHER PRO: Once you've taken your photos, REAL ESTATE PHOTOGRAPHER PRO will enhance and edit your images for optimal listing quality.
By following this checklist and using your cell phone wisely, you can capture stunning real estate photos showcasing your home's best features.
REAL ESTATE PHOTOGRAPHER PRO can then take these images and make them shine, helping you attract potential buyers and sell your property quickly and at a competitive price.
Tips To Look Like a pro
KEEP THE SUN AT YOUR BACK:
For the best results for exterior photos, you may want to take exterior photos at different times of the day to allow for the best results. And then, later in the afternoon, do the back of the house when the sun is illuminating the back of the house. You can also do your photos in the middle of the day when the sun is above the home. You want to avoid shooting directly into the sun.
AVOID SHOOTING DIRECTLY INTO THE SUN:
This can create shadows on the house and sun flares in the lens.
LEVEL AND STRAIGHT:
You want to ensure the camera is level from right to left and that the angles you shoot are straight and level from right to left. It's essential to ensure your cell phone/camera is straight from the top of the photo to the bottom of the photo. Turning on your grid lines inside the cellphone/camera settings will help you line up your grid lines to ensure the photo is straight from top to bottom.
THREE WALLS:
In your photos, you want to ensure three walls. One wall will be your anchor wall. The anchor wall is used to make sure your photo angles are straight and level. The other wall is usually the center wall in the photo. This is your story wall or subject wall. This is what you're trying to showcase in the photo. The third wall will be the context wall. This shows how the room is connected to another room and will be the leading edge of the next photo. Using the three-wall rule guideline also helps give the viewer a perspective of the room you are presenting.
2 FT OFF CENTER:
To ensure you get the three-wall perspective, you will want to stand with your back against the fourth wall 2 feet to the right or two feet to the left off the center of the fourth wall.
LINEUP GRID LINES WITH WALL LINES:
In your camera settings, you can turn on your grid lines so that when you're viewing the room, you will have grid lines to help with lining up the wall lines with the grid lines in your camera. This can be used to help ensure the photos are level and straight from right to left to top to bottom, and it can also make sure that your viewing perspective is pleasing.
SHOOT THE FLOW AND FOLLOW THE TRAFFIC PATTERNS:
In most homes, the traffic patterns that are natural to a viewer viewing your photos online would be from the front door to the back door of the home. You want to follow the traffic patterns in the house that would be most natural for viewing the home online.
WIDER IS NOT BETTER:
You can show too much information in a photo, which may look unrealistic, or have so much information that the photo cannot be understood.
Photoshoot List:
Front of the house - three or four photos
Front door entrance
Living room - three or four photos
Dining room - two or three photos
Kitchen - three or four photos
Hallway bathroom
Primary bedroom - three to four photos
Connecting bathroom to the primary bedroom - three or four photos
Primary bedroom closet
Guest rooms - one or two photos
Hallway bathroom - one or two photos
Bonus room - two or three photos
Laundry room - one or two photos
Garage, if it has any custom storage, needs to be showcased
Backyard - three of five and back of the house
Guide to Captivating Real Estate Photography
When it comes to showcasing your property for rent, stunning photographs can make all the difference. You don't need to be a professional photographer to take great real estate photos, but there are some essential tips you should keep in mind to ensure your property shines in every shot. Here's a guide to mastering real estate photography:
FOCUS ON A SINGLE KEY FEATURE:
Identify the most compelling feature in each room or space you photograph. Whether it's a cozy fireplace, a spacious kitchen island, or a beautiful garden, focus on highlighting that one standout element. Avoid clutter and distractions by omitting anything that doesn't enhance the primary feature.
PROVIDE A COMPLETE SCENE:
While highlighting specific features is essential, remember to capture the overall scene. Use wider shots to give viewers context and a sense of the room's layout. This helps viewers visualize themselves living in the space.
SHOOT FROM DIFFERENT ANGLES:
Variety is key in real estate photography. Take multiple shots of the same room from different angles and heights. This gives viewers a comprehensive view of the space and adds depth to your photos.
TAKE ADVANTAGE OF NATURAL LIGHT:
Lighting is crucial for great photos. Take pictures during the day to make the most of natural light whenever possible. Open blinds or curtains to let in sunlight, and turn on indoor lights to create a warm and inviting atmosphere. Be mindful of the angle of the sun to avoid glare.
BEWARE OF GLARE:
While natural light is essential, direct sunlight can create glare and wash out your photos. Pay attention to how the sunlight enters the room and adjust your shooting angles accordingly to maintain a balanced and appealing look.
USE GRIDLINES AS A GUIDE:
Most smartphone cameras offer gridline options to help you compose your photos effectively. Use these gridlines to apply the "rule of thirds," aligning your room's focal point with the gridlines' intersections. This technique often results in more visually pleasing images.
CLEAR THE CLUTTER:
Before you start taking photos, declutter each space. Remove unnecessary items like tissue boxes, toys, stacks of mail, and personal belongings. Make sure the rooms look clean and organized. Remember to close toilet lids and hide cords and wires.
DON'T FORGET THE OUTSIDE:
Curb appeal matters! Capture the exterior of your property, even in different seasons. A well-maintained outdoor space can be a significant selling point for renters.
STAY OUT OF THE PICTURE:
When photographing reflective surfaces like mirrors, be mindful of your reflection. Try to position yourself so that you aren't visible in the shot. If pets are present, ensure they don't photobomb your photos.
By following these tips, you can take high-quality real estate photos that will grab renters' attention and showcase your property in the best possible light. Remember that the more appealing your photos are, the more interest your listing is likely to generate. Happy photographing!